
The box is open, the controllers are on the sofa, and everyone is waiting for Tekken 3 to load. Then the TV shows “No Signal.” We see this moment often at our Johar Town store, and the fix is almost always simple. A retro game stick is a plug-and-play console that runs thousands of classic arcade, PS1 and Game Boy titles straight from your TV’s HDMI port. No internet, no account, no downloads. This guide walks you through the full setup, from finding the right port to fixing a controller that won’t respond. If you haven’t picked one yet, browse our gaming accessories collection first. Then grab the stick and follow along.
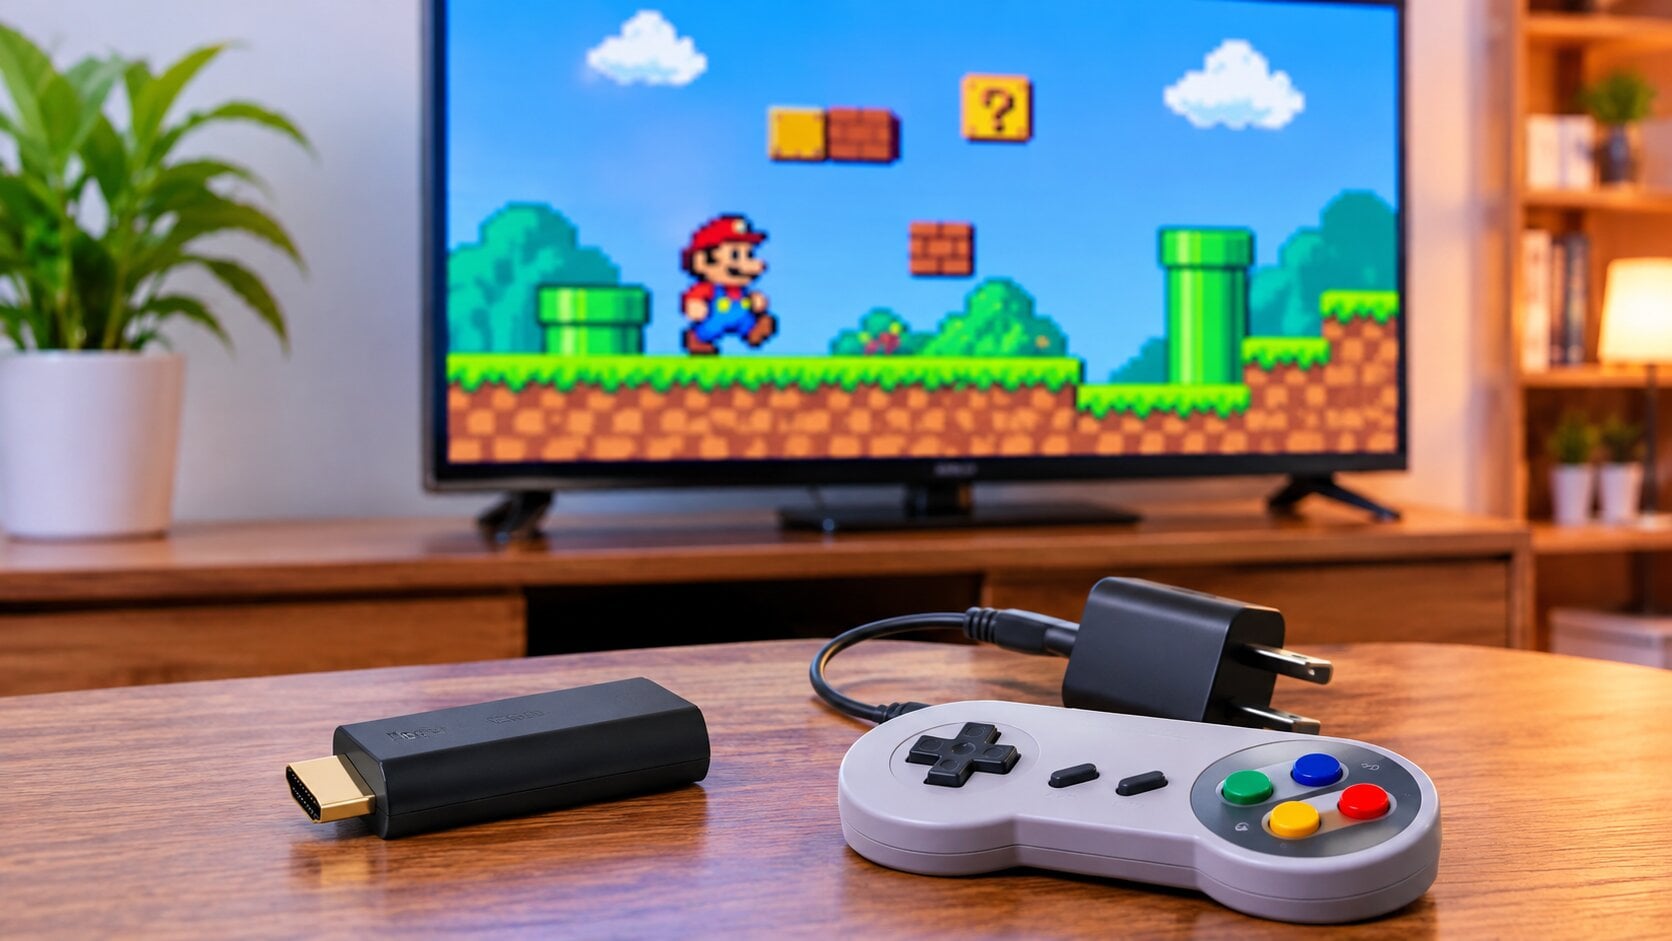
Plug the game stick into your TV’s HDMI port, power it from a USB wall adapter, put batteries in the controllers, then switch the TV to that HDMI input and pick a game.
What You Need Before You Start
Most retro game sticks ship with almost everything in the box. Take a minute to check, because one missing item is the most common reason setup stalls.
- The game stick itself, with its built in storage or TF card
- Two 2.4GHz wireless controllers and the small USB receiver
- An HDMI extension cable and a USB power cable
- AA or AAA batteries for the controllers (usually not included)
- A TV, monitor or projector with a free HDMI input
On the X6, for example, the listing on our website states the box includes the stick, two wireless controllers, an HDMI cable and a power cable, while controller batteries are sold separately.
How to Set Up a Retro Game Stick on an HDMI TV, Step by Step
Step 1: Plug the Stick Into an HDMI Port
Look at the back or side of your TV for a port labelled HDMI 1, HDMI 2 and so on. Note the number, because you will need it in Step 4. Wall mounted LEDs often leave very little room behind the panel, so use the HDMI extension cable instead of forcing the stick in directly.
Step 2: Give It Steady Power
This step causes more problems than any other. Many people plug the USB power cable into the TV’s own USB port. It looks neat, but a lot of TV USB ports supply too little current, so the stick restarts, freezes on the logo or never boots at all. Use a standard 5V phone charger plugged into the wall instead. Any reliable adapter from our chargers range will do the job. With load shedding in mind, a UPS backed socket also protects your progress from sudden cuts.
Step 3: Insert Batteries and Connect the Receiver
Fit fresh batteries in both controllers and switch them on. Most game sticks use a tiny 2.4GHz USB receiver that plugs into the stick itself. Make sure it is pushed in fully. These controllers work on a direct radio link, so there is no Bluetooth pairing and no app to install. When the stick powers up, the controller lights should stop blinking and stay steady.
Step 4: Switch the TV Input and Choose a Game
Press the Input or Source button on your TV remote and select the HDMI port from Step 1. The game menu should appear within a few seconds. Use the controller’s D pad to browse by system, such as MAME arcade, PS1, GBA or SNES, then press the confirm button to launch a game. Player two simply picks up the second controller.
Step 5: Learn the Exit Shortcut
Here is the one tip that saves a lot of frustration. On many sticks, including the X6 Game Stick, pressing SELECT and START together exits the current game and takes you back to the main menu. Some models also open a quick menu with save and load options this way, so check the leaflet in your box.
Why Is My Game Stick Showing No Signal?
Start with the input. Nine times out of ten, the TV is simply on the wrong HDMI source. Cycle through every HDMI option once before you assume a fault.
Next, check power. If the stick’s light is off or flickering, move the USB cable from the TV to a wall adapter. A weak supply also causes random restarts mid game.
If the picture still won’t show, reseat the stick in the HDMI port, try a different port, and test it on another TV if you have one. Older sets with only AV or VGA inputs need an HDMI converter, which is not included with game sticks.
For controllers that don’t respond, replace the batteries first, confirm the receiver is fully inserted, then restart the stick. Keep the receiver in clear view of where you sit. Placing it behind a thick TV stand or next to a WiFi router can cause lag and dropped inputs.
How to Get a Better Picture and Less Lag
Retro games were designed for small, low resolution screens, so they will never look razor sharp on a 55 inch panel. A 4K label on the box usually refers to the stick’s output signal, while the games themselves run at their original resolution. You can still make them look and play better. Turn on Game Mode in your TV’s picture settings. It cuts the processing delay, so jumps and combos land when you press the button. If the image looks stretched, look for a 4:3 option in the stick’s settings or your TV’s aspect ratio menu.
Can You Add More Games?
Most sticks come with tens of thousands of titles already loaded, which is more than most families will ever finish. Many models also include a TF card slot for extra storage. The X6 listing on our website mentions support for cards up to 128GB. Always back up the original card before adding files, because a corrupted card can wipe the preloaded library. Remember too that game lists can vary from unit to unit, so if you want one specific title, ask us before you order.
Key Takeaways
A retro game stick needs only three connections: HDMI, steady wall power and charged controllers. Most “no signal” problems come from the wrong TV input or weak USB power. Turn on Game Mode for smoother play, and use SELECT plus START to get back to the menu.
Still deciding which model suits your family? Read our comparison of the best retro game sticks: X6, M8 Pro, M66 and GS5 Mini, or explore our full range of retro gaming consoles in Pakistan with cash on delivery nationwide.
Frequently Asked Questions
Does a retro game stick need internet to work?
No. The games are stored on the stick, so you can play without WiFi, an account or any downloads.
Can I use a game stick with an old TV?
Only if the TV has an HDMI input, older AV or VGA televisions need a separate HDMI converter to display the picture.
Why does my game stick keep restarting?
It usually lacks power. Plug the USB cable into a 5V wall adapter instead of the TV’s USB port.
Do game stick controllers need Bluetooth pairing?
No. They use a 2.4GHz USB receiver. Insert batteries, plug in the receiver, and power on the stick to connect.
How do I exit a game on a retro game stick?
On most models, press SELECT and START together. This closes the game and returns you to the main menu.